
One of the downsides to starting milkweed seeds is they require cold stratification. Cold stratification, also known as seed stratification, is the process of exposing seeds to cold and moist conditions to encourage germination and break the seeds out of their dormancy cycle. Cold stratification for the Milkweed seeds should be at least 30 days. I have always felt like 30 days is a long time to wait before you can get started planting your milkweed seeds and there must be another way. This led me on a research journey to hopefully find a quicker and more efficient way to start milkweed seeds. I struck gold and found a process called Jarmination.
What is Jarmination?
Jarmination is the technique that allows you to bypass the cold stratification process completely by soaking the seeds in distilled water for 3-5 days and then planting the seeds in a potting mix inside of a mason jar. Sounds a little crazy, right? Let me just tell you that Jarmination is a game changer, and I will never go back to the cold stratification process!
Jarmination was created by Brad Grimm. Brad is also a Monarch enthusiast and has a desire to help save our monarchs. In 2015, he launched his website https://www.growmilkweedplants.com/ to help people learn about and locate native milkweeds for their part of the country (USA). I contacted Brad and asked for his permission to share Jarmination on the Magical Monarchs website. Not only did Brad give me his permission to share the Jarmination process but he also gave his permission to share any reference material he has created. Links to Brad’s reference materials are listed below.
Brad’s Reference Materials:
- Jarmination Blog
- Jarmination Instructions
- Clipping Milkweed Seeds Blog (certain species of milkweed will benefit from clipping the seed before starting the Jarmination process. Swamp Milkweed is not one of the species that requires this).
- Clipping Instructions
Another great resource is Lumberjill Garden on YouTube. She walks you through the process of clipping Common Milkweed Seeds and using the Jarmination method.
My Jarmination Experiment
I have had great success in germinating swamp milkweed seeds with Jarmination and I will be trying this process with other species of milkweeds. The materials, instructions, and photos of my experiment are listed below.
Materials Needed for Jarmination
- Cellophane or Plastic Wrap
- Ball Regular Mouth Canning Jar (8 oz.)
- Tablespoon Measuring Spoon
- Potting Mix
- Distilled Water
- Coconut Coir
- Swamp Milkweed Seeds
Jarmination Instructions
Step 1
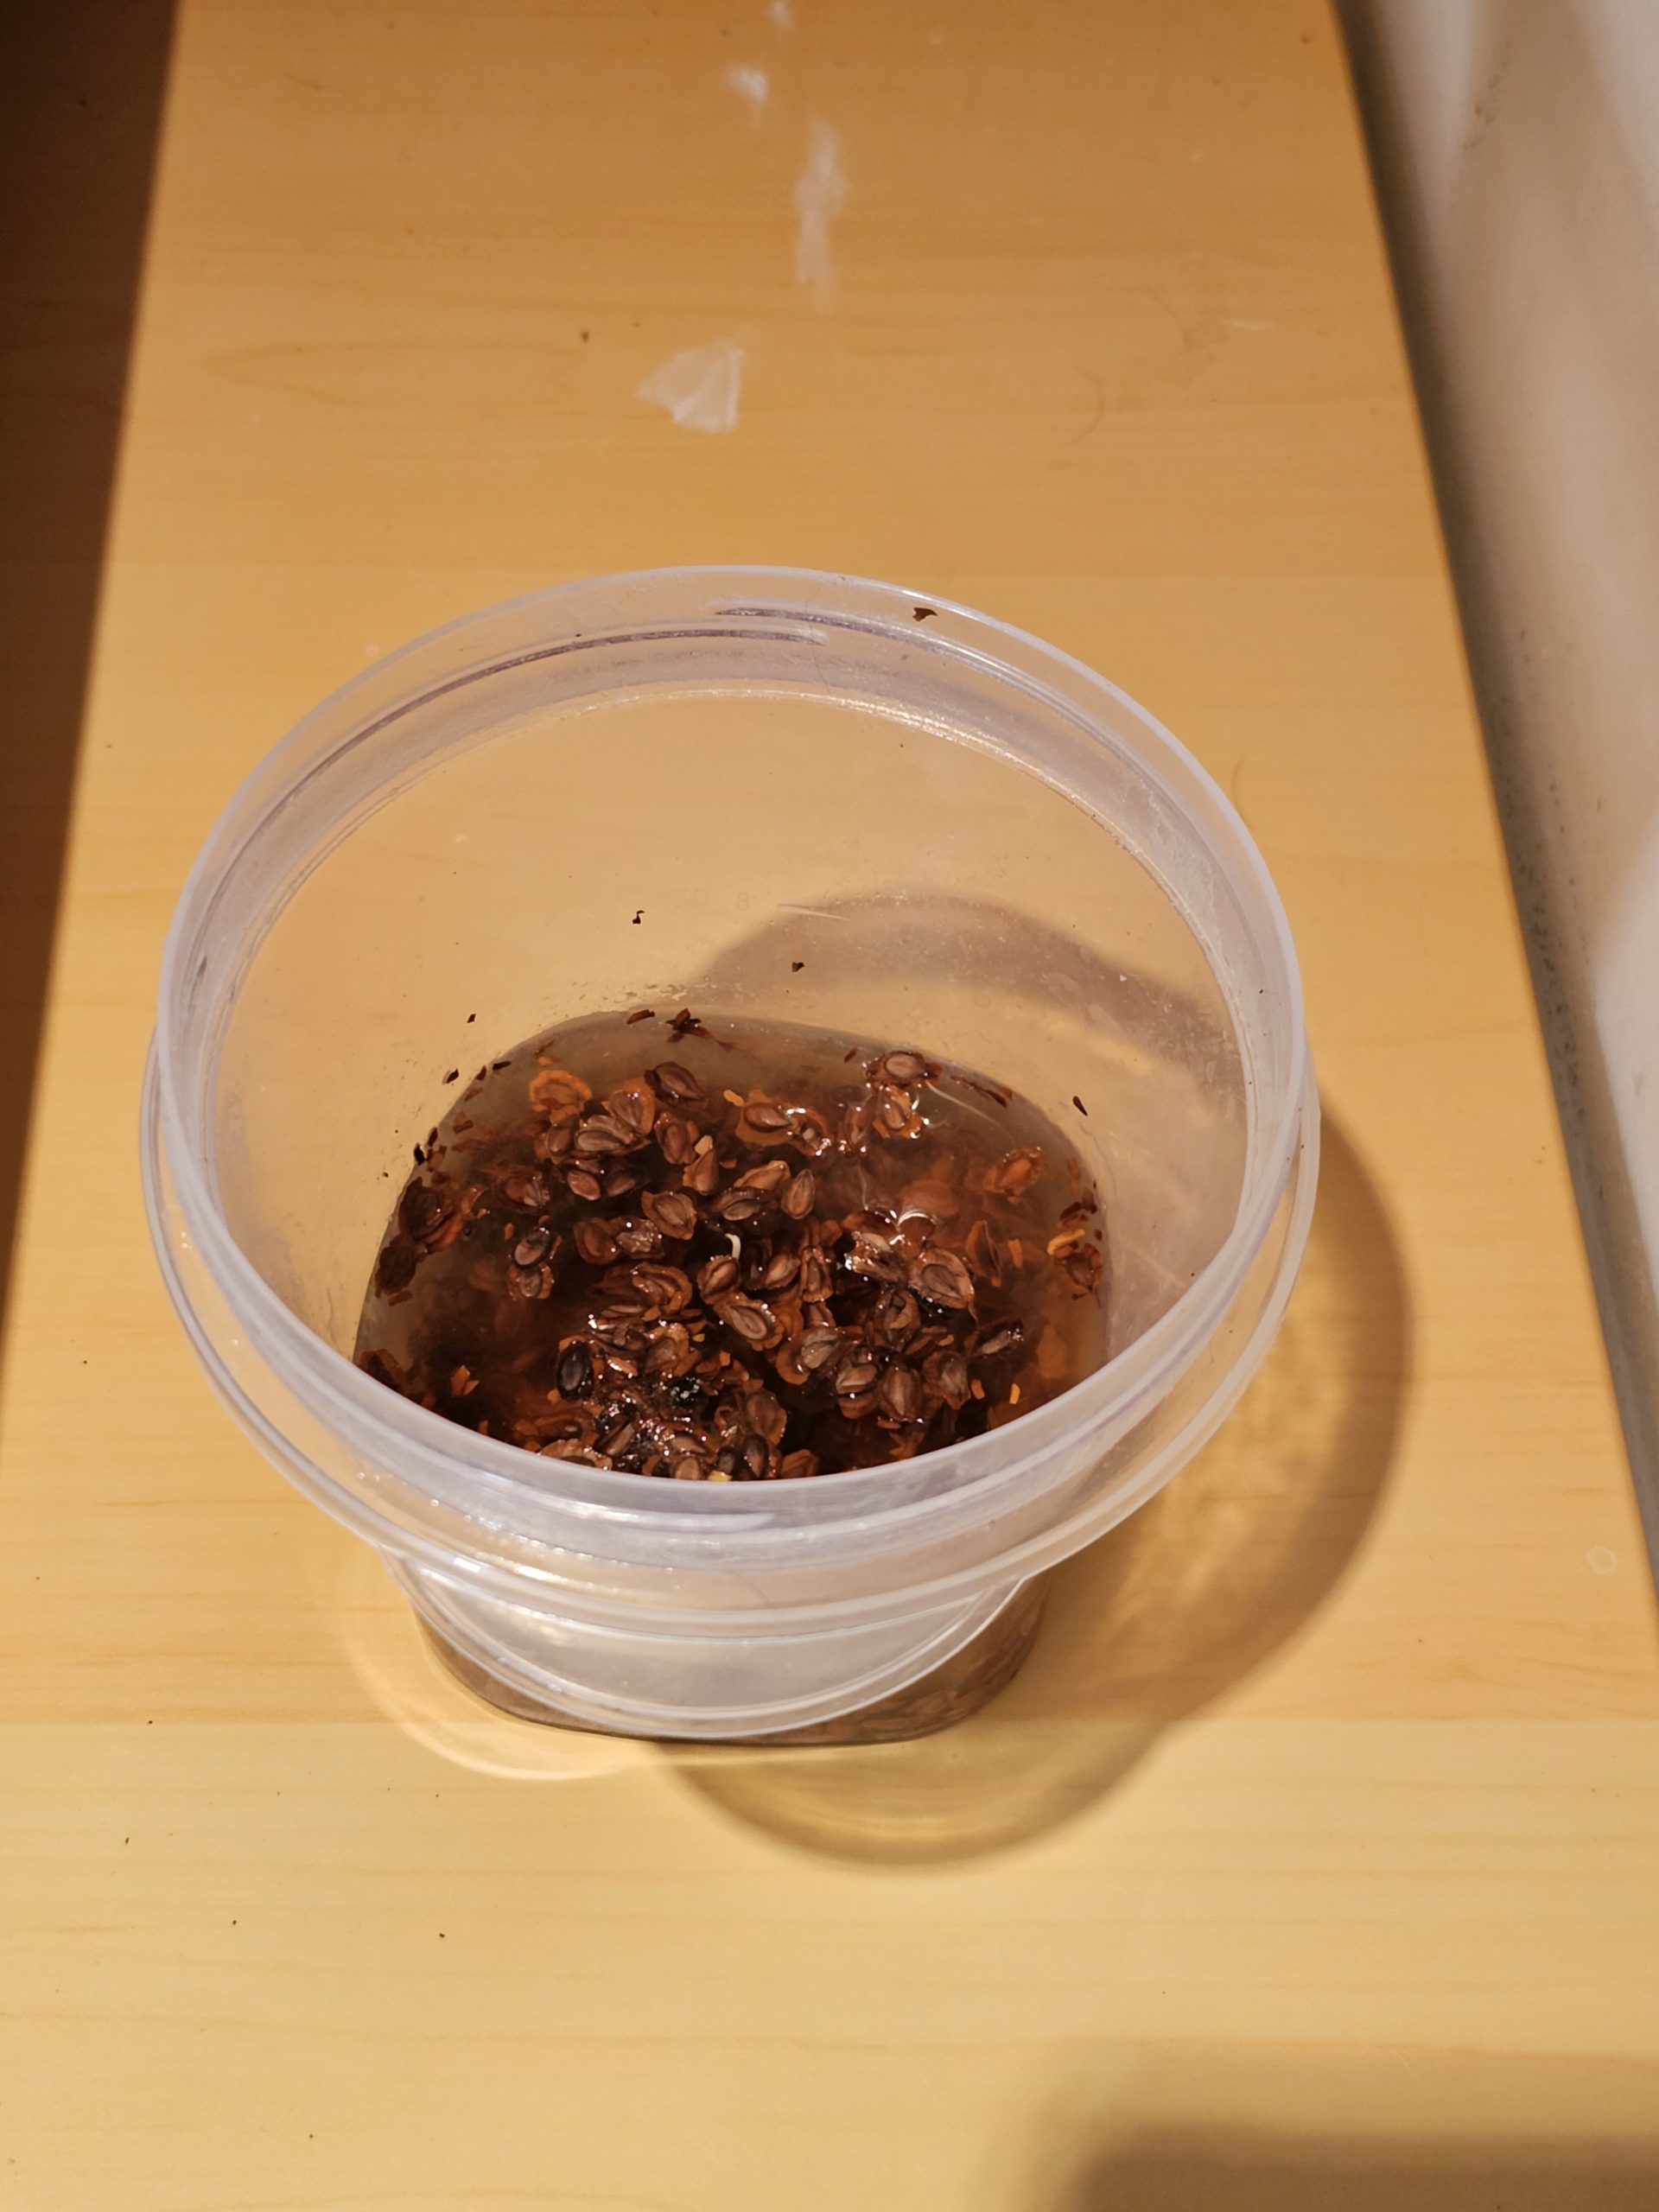
Soak swamp milkweed seeds in a small container in distilled water for 3-5 days. I soaked my seeds for 3 days. I feel like anywhere from 3-5 days is a good time range for soaking the seeds.
Step 2
Fill the mason jar to the 8-ounce line with your potting mix and sprinkle 10 – 20 seeds on the surface soil. For Jarmination, I used Fox Farms Coco Loco Potting Mix. Feel free to try different potting mixes/soils.
Spread out the seeds a little bit so they are not all clumped together.
Slowly pour 4 tablespoons of distilled water over the seeds.

Step 3
Sprinkle a little of the Coconut Coir evenly over the seeds. Just make a light dusting. I used Coco Bliss Coconut Coir which I purchased from Amazon.

Step 4
Place a cellophane sheet or plastic wrap (6X6 size) over the jar. Punch 4 small holes in the center. Brad Grimm sells cellophane sheets on his website with butterfly cutout holes and I used his cellophane sheets. However, plastic wrap will work just fine. A sandwich bag will probably work as well.

Step 5
Put the ring back on the jar to secure the cellophane sheet or plastic wrap.

Step 6
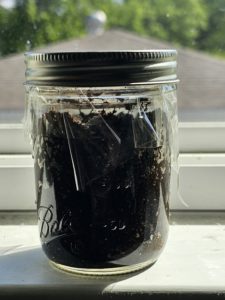
Place the jar on a sunny windowsill and watch the magic happen!
Keep checking for activity every few days. When you see there are sprouts mist the soil lightly every couple of days and remember to replace the covering and lid ring.
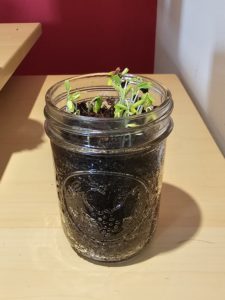
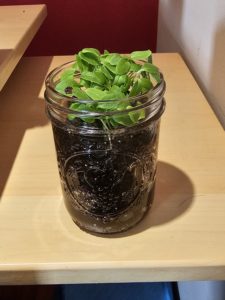
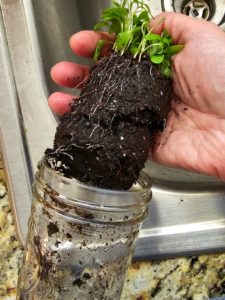
Photos from my Jarmination Experiment. I think it was a success!

Removing the plants from the jar is easy. Just add some water to the jar to add some weight to the soil.

Tilt the jar on its side and give the jar a light shake. The roots and soil will slide right out of the jar.
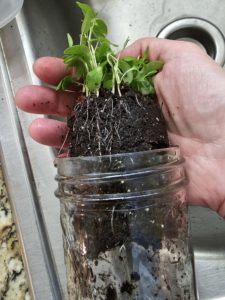
It’s Easy-Peasy!
After you have removed your plants from the jar, carefully divide them up so you can transplant them into a larger container.

I used a 4-inch square pot for my little sprouts.
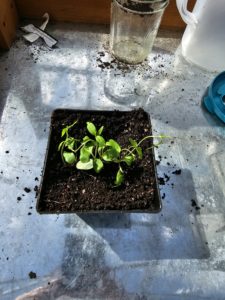
I ended up with 4 pots of plants from that one jar! I think I probably could have thinned the plants out even more and got at least 6 or 8 pots.
